Eyeliner for monolid eyes: shapes that read when your eyes are open
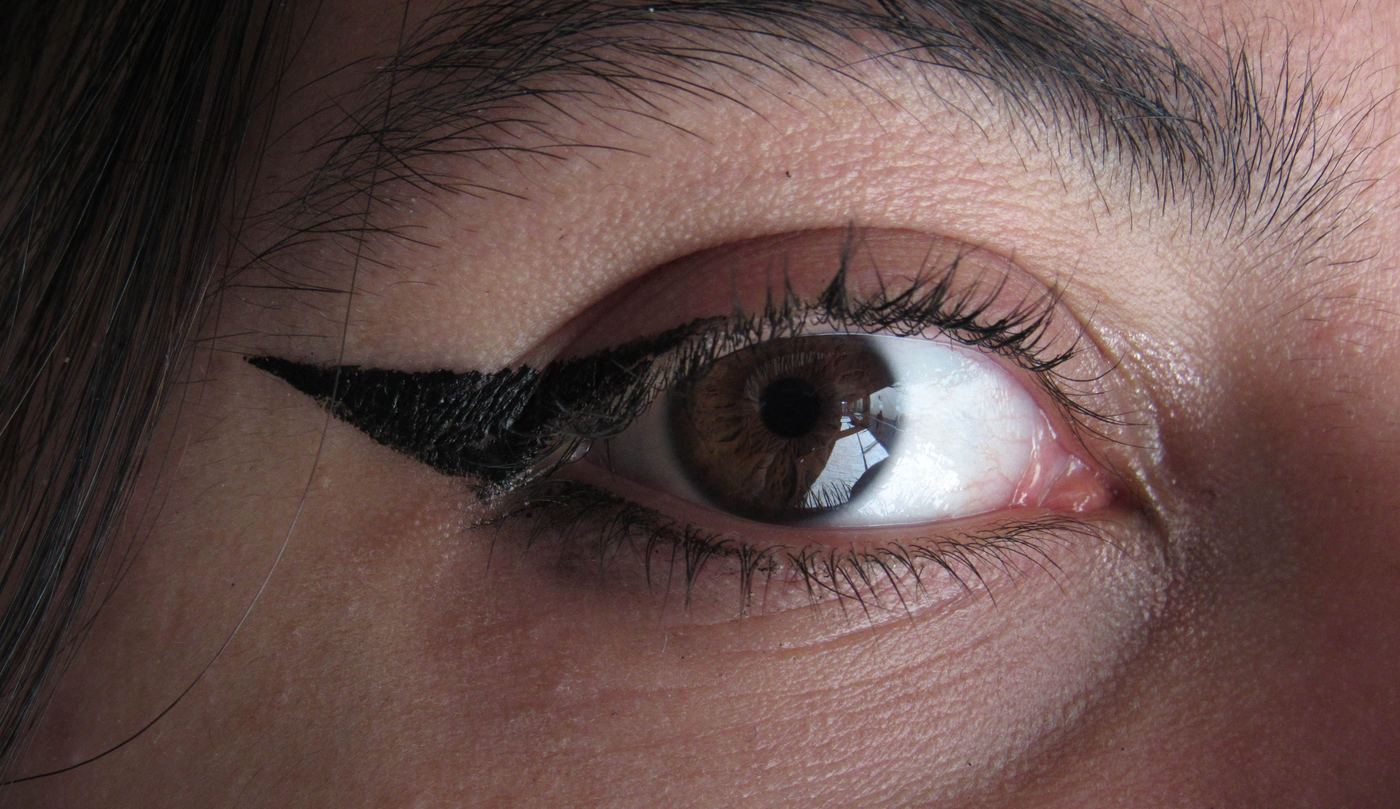
A monolid has no visible crease dividing the upper lid. The skin runs in one smooth plane from lash line to brow bone. It is one of the most common eye shapes in the world, and almost every eyeliner tutorial ever filmed assumes you do not have one.
That is not a cosmetic complaint, it is a geometry problem. Crease-based tutorials use the fold as a landmark: they tell you to taper the line into it, angle the wing towards it, stop the flick where it meets it. Take away the crease and every one of those instructions loses its reference point.
On this page
Why the standard advice misfires
Three specific failures, all of them predictable:
- A thin line vanishes. With no crease to hold the skin clear, the lid rests against the lash line. Draw a delicate line and your own lid covers most of it the moment you look straight ahead.
- A uniform band reads as a slab. The overcorrection is to go thick everywhere. That works from the front but flattens the eye, because nothing directs the eye outward.
- An upward wing folds away. A flick angled at 45 degrees needs open lid space above the lash line to sit in. On a monolid it runs straight into the lid and disappears at exactly the point it was supposed to lift.
The rule that replaces all the crease advice: on a monolid, length beats height, and gradient beats uniform.
Three shapes that work
1. The graduated band
Start at the inner third with the finest line your product will give, then build height gradually so the heaviest point sits above the outer corner of the iris. Aim for something like one to two millimetres at the inner corner and three to four at the outer. The gradient is what makes the eye look longer rather than simply darker.
2. The long low wing
Instead of angling the flick up towards a brow, run it outward, roughly continuing the line of your lower lash line. It can be longer than you would dare on a creased lid, because there is no fold waiting to cut it in half. Check it with your eyes open before committing to the length.
3. The smoked outer third
The lowest-risk option, and the one that survives a long day best. Pencil along the outer half of the upper lash line, then push it upward and outward with a small brush until the edge is soft. No hard line means nothing to print onto the lid, and a soft shadow at the outer corner opens the eye without any geometry to get wrong.
The open-eye method
This is the single habit that separates liner that works on a monolid from liner that looks fine in the mirror and wrong in photographs.
- Draw the base line with the eye relaxed and open, looking straight into the mirror. Not closed, not stretched.
- Build height in two or three passes, opening the eye fully between each one.
- Stop the moment the line reads as continuous with the eye open. Anything you add beyond that point is invisible weight.
- Only close the eye at the very end, to blend the outer corner.
Stretching the lid is the classic error. Skin that has been pulled taut springs back and takes the line with it, which is how a smooth stroke ends up wobbling.
The formula rule that matters most
On a monolid the upper lid rests against the lash line all day. Every blink is a press. That makes transfer resistance, not precision, the property to buy for.
| Format | On a monolid | Why |
|---|---|---|
| Waterproof liquid pen | Best | Film-forming formulas set to a dry finish that will not print upward. A brush-flex tip gives you the gradient without effort. |
| Film-forming gel pot | Best | Total control over thickness, and the right texture for the smoked variant. Needs a brush and a minute of practice. |
| Gel pen | Workable | Fast, forgiving, sets reasonably. Check it is described as waterproof or long-wear, not just smudgeable. |
| Soft kohl pencil | Set it or skip it | Wax plus lid contact plus warmth equals a grey print on the lid by lunchtime. Fine for the smoked look if you set it with powder. |
Our shortlists by format cover the liquid and gel options in detail, and waterproof versus smudge-proof explains why those two claims are not the same thing, which matters here more than on most eye shapes.
Five common mistakes
- Lining the lower lash line to match. A full circuit of liner closes a monolid up. Keep the lower line to the outer third if you use it at all.
- Copying a wing angle from a video. The angle in the tutorial was set by someone else's crease.
- Skipping dry time. Hold the eye open for a slow count of ten after the last pass. This is the whole difference between transfer and no transfer.
- Going glossy. Shiny finishes emphasise the flatness of the plane. Matte black or matte deep brown reads sharper.
- Fixing an uneven line by adding more. Take it off with a cotton bud and a drop of remover and redo that section. Building over a wobble doubles the weight.
Questions people actually ask
Why does my eyeliner disappear when I open my eyes?
Because there is no crease holding the lid clear of the lash line, so the lid itself covers a thin line. Build a graduated band that is heaviest over the outer third, and judge it with your eyes open.
Should the wing go up or out?
Out. A steep upward flick runs into the lid and folds away. Extending outward, roughly along the line of the lower lashes, lengthens the eye and stays visible.
Why does my liner print onto my upper lid?
Lid contact plus a formula that has not set. Switch to a film-forming waterproof product, let it dry with the eye held open, and set any pencil with a matching powder.
Does tightlining work on monolids?
Yes, and it is a good option, because it adds definition with nothing on the lid to transfer. Read the tightlining guide first, including the part about the inner rim.
Is this the same advice as for hooded eyes?
It overlaps but it is not identical. A hooded lid has a crease that sits low and folds over the lid; a monolid has no crease at all. Both punish thin lines, but hooded eyes need the weight kept tight to the lashes while monolids can carry more height. See eyeliner for hooded eyes.