Winged eyeliner, step by step
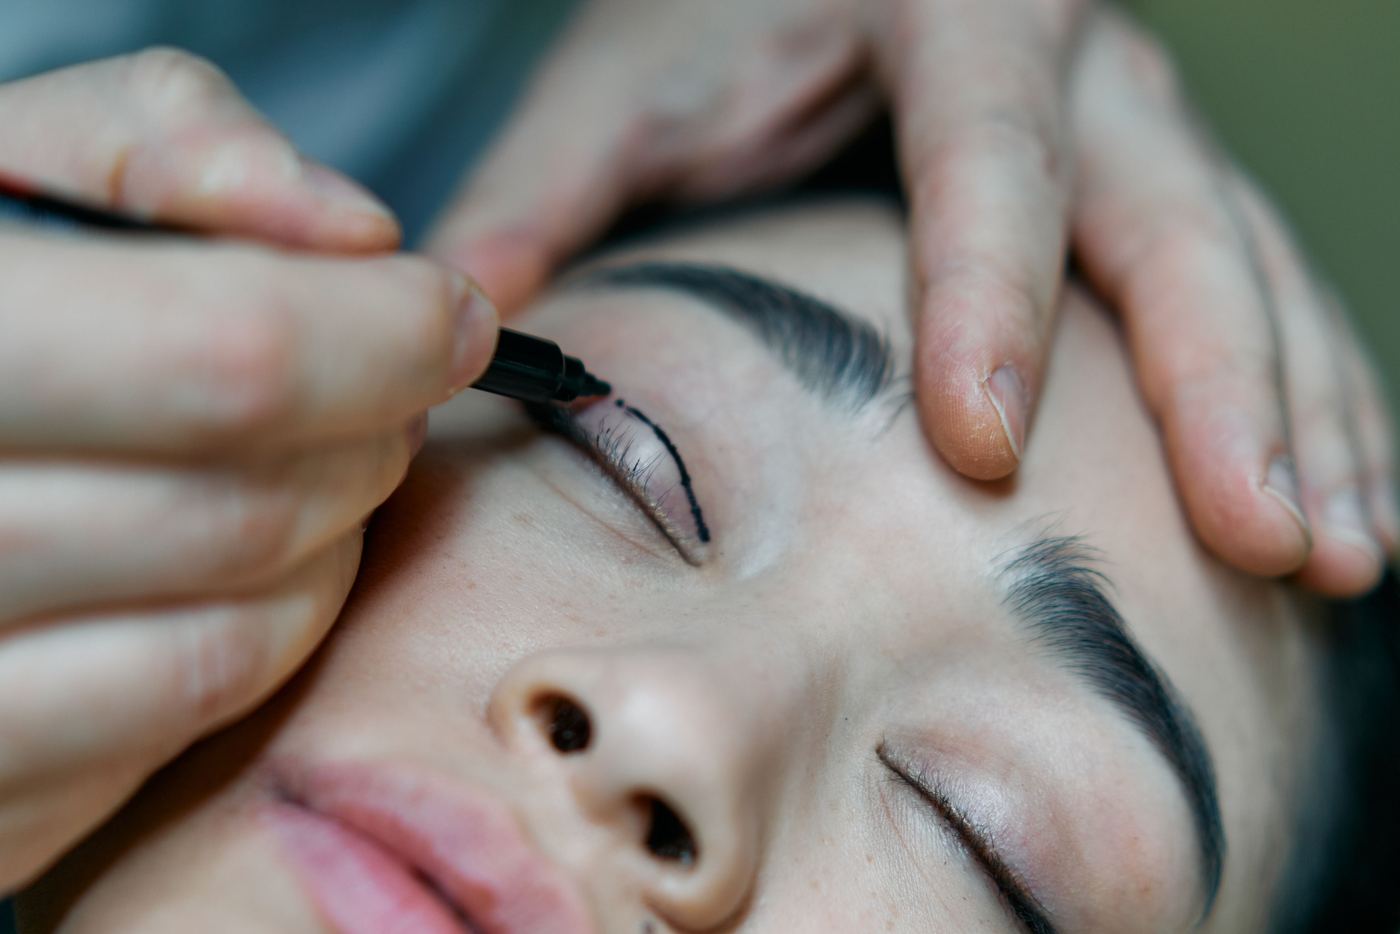
The wing is 90% geometry and 10% steady hand, which is good news: geometry can be learned in one sitting. Steady hands cannot, and you do not need one.
On this page
The one rule that fixes most wings
The wing should continue the line of your lower lash line, as if it kept going past the outer corner toward the tail of your eyebrow. Wings that look "droopy" almost always ignored this angle and followed the upper lash line down instead.
The dot-and-connect method
- Map first. With your liner, place a small dot where you want the wing to end, along that lower-lash-line angle. Symmetry is decided here, while corrections are still easy.
- Draw the wing line from the dot back toward your lash line, meeting it a few millimetres in from the outer corner. Do not draw outward from the eye; drawing inward gives more control.
- Close the triangle. Connect the top of the wing line back along your lash line, then fill the small triangle.
- Line the rest of the lid from the inner two-thirds outward, staying as close to the lashes as you can. Thin first; you can always build thicker.
- Match the second eye by checking the dots face-on in the mirror before drawing anything. Eyes are asymmetrical; matching dots beats matching finished wings.
If your hand shakes
- Anchor your elbow on a table and rest your pinky on your cheekbone. Floating elbows draw wobbly lines.
- Use short strokes. Nobody draws a wing in one sweep; feathery connected strokes look identical from any normal distance.
- The tape method works. A piece of low-tack tape (press it on your hand first to weaken the adhesive) laid along the lower-lash angle gives you a physical ruler. Training wheels are allowed.
Fixing mistakes without starting over
Dip a small flat brush or cotton bud in micellar water and sharpen the wing's lower edge from below, rather than wiping the wing off. Concealer on a flat brush does the same and doubles as a highlight along the edge.
Questions people actually ask
Why does my wing look droopy?
It followed the upper lash line down instead of continuing the lower one up. Check the diagram above: same corner, two angles, two completely different results.
How do I get both wings to match?
Match the dots, not the wings. Place both dots, look at them face-on, fix them while fixing is easy, then draw. Your eyes are not identical, so identical wings can still look wrong.
My wing keeps printing onto my eyelid. What now?
That is a hooded-lid or set-time problem rather than a geometry one. See eyeliner for hooded eyes and why your eyeliner smudges.
How thick should the wing be?
Thinner than you think, and always drawn thin first. Thickness is easy to add and painful to remove, and on a hooded lid most of the extra thickness is invisible anyway.